Saturday, October 08, 2011

Spooky Banner

Hi All,

Wow, it's been a while. I've been busy with my sister in law's 35th birthday, my mother's surprise 50th birthday and my son's 6th birthday. All of this in the strecht of one week. Pheww..

Anyways... I played with my Cricut today. And scraplifted a project I came across on the Cricut website. Andrea's blog is worth the visit, she is a creative individual and her projects are beautifull. I couldn't resist, I had to make one... or two.


I also decided to try and do it on a video.

So here it is. I hope this works out.


I also decided to enter this into the Heart 2 Heart sentiment challenge ... Spooky is a sentiment right? I haven't participated to the challenge in much too long. I'm working on freeing some of my time so that I can participate more often from now on.

Thursday, September 01, 2011

It's Back To School

My son, Jérome, is starting grade 1 tomorrow. And the one thing that I kept thinking was: "And I don't even have his first day of Kindergarten scrapbooked". I know most mothers would be concerned about their little boy growing up. But what can I say... I'm a scrapper to the core.

So today, I scrapbooked his first day of kindergarten just so I can say that is was done before he started first grade. I'm really not that organized of a scrapper cause I manage to ignore the fact that his third birthday party is still unscrapped.

So here are the pictures of that layout.

I used CTMH's Typeset paper kit, and the CTMH Cricut Cartridge.

On my first day of school my mother followed me through every step, waking up, eating, brushing my teeth. I decided to pester my own kid the same way.
Even the cat followed him to the bus stop.


Emergency bathroom break before the bus got there. Boys!! what can I say.


Monday, August 15, 2011

House Warming Gift

One of my second level downline moved into a new house. My sister and I where visiting and put together a little gift for her.

I made a house shape gift box and we filled it with scrapbooking supplies.


Ink used:

Brown Bag, Desert Sand, Bamboo, Vineyeard Berry, Smoothie, Pear, Sky

Cardstock:

Colonial White

Stamps:

Around the Block (D1377), Flower Pot (D1409), Door (um3386 by AI Impressions)


 I randomly stamped bricks around the box.


I made a scalloped edge template and inked the roof with it.


The final box with the ribbon


And a matching card.

Wednesday, July 27, 2011

Having Fun With My Cricut Imagine

If you know me personally, you know I've just received my new Cricut Imagine. I've talked of nothing else in the last two weeks. Well it is here, it is big!!! and it is worth all the scrapbooking surface it is using!


I haven't been participating to very many challenges lately and I wanted to get right back at it. I also wanted to play with the Cricut Imagine so I did both with the Mojo Monday Challenge 201. I am really pleased and impressed with the result. This machine is going to be fun! 

Here is this weeks Sketch challenge with Mojo Monday. I decided to do the circle card. So using the Yummy Art Cartridge and the preloaded shapes on the Cricut I made this card.


First I selected the Scallop circle from the preloaded shapes and sized it to 4.5 inches, I copies it so that I would have two. I also selected the Popsicle on the layered setting at 2.5 inches. I added the border and changed the colour to a teal blue and sized it to 1.5 inches. I selected the Celebrate tag and left it on the assembled image and set it to 1 inch. I picked out of the pendant that had a circle  designed to it and set it to the layered image. I changed the colour of the circle to the chocolate with writing background. I then removed all the other pendant layers and sized the circle to Actual 4 inches. I also changed my setting so that there would not be a coloured border along the edges of my images. When it came to print and cut, it needed to be on two pages to accommodate the sizes I selected.


I trimmed the border to remove the top part and shorten it to fit my circle. And of course I inked my edges in chocolate ink.


I matched the scalloped circle and scored a little bit of the edge on the back piece to create my card.


And then I assembled the card. Using some pop dots on one of the  Popsicle and the tag. Here is the final result.


Tuesday, July 26, 2011

Scrapbook in a box.

Well I sure haven’t blogged for a while, or participated to many challenges. Cross that I really mean ANY challenges. But really it’s not because I haven’t been scrapbooking. I just organized a scrapbooking weekend. I’ve been making my samples and hosting my monthly workshop. I’ve also been busy drooling over the new CTMH Idea Book. And we have been haying at the farm. I’m using the term WE quite loosely here. I’ve been on kids duty mostly.


Also there was two wedding showers this week. My mother’s, and for one of my new step sister. So I thought I would share with you what I made for them. This project was shared at our last CTMH consultant meeting, one of my second downline showed me how to make these. Thanks Lauren! So here is my version.

I made my mom’s first. Keep in mind this was my first take and that my camera was MIA and I took these pictures with my phone.


I got really excited about putting this project together that I forgot to ink my edges until after it was all put together. But it turned out okay. This is a surprisingly very easy project to make.


I made this one on Saturday evening. Lately while I scrapbook I've been doing it with my laptop in front of me watching scrapbooking videos on youtube. Well while doing this box I learned how to make rolled paper flowers. So I decided to try them for the next box.


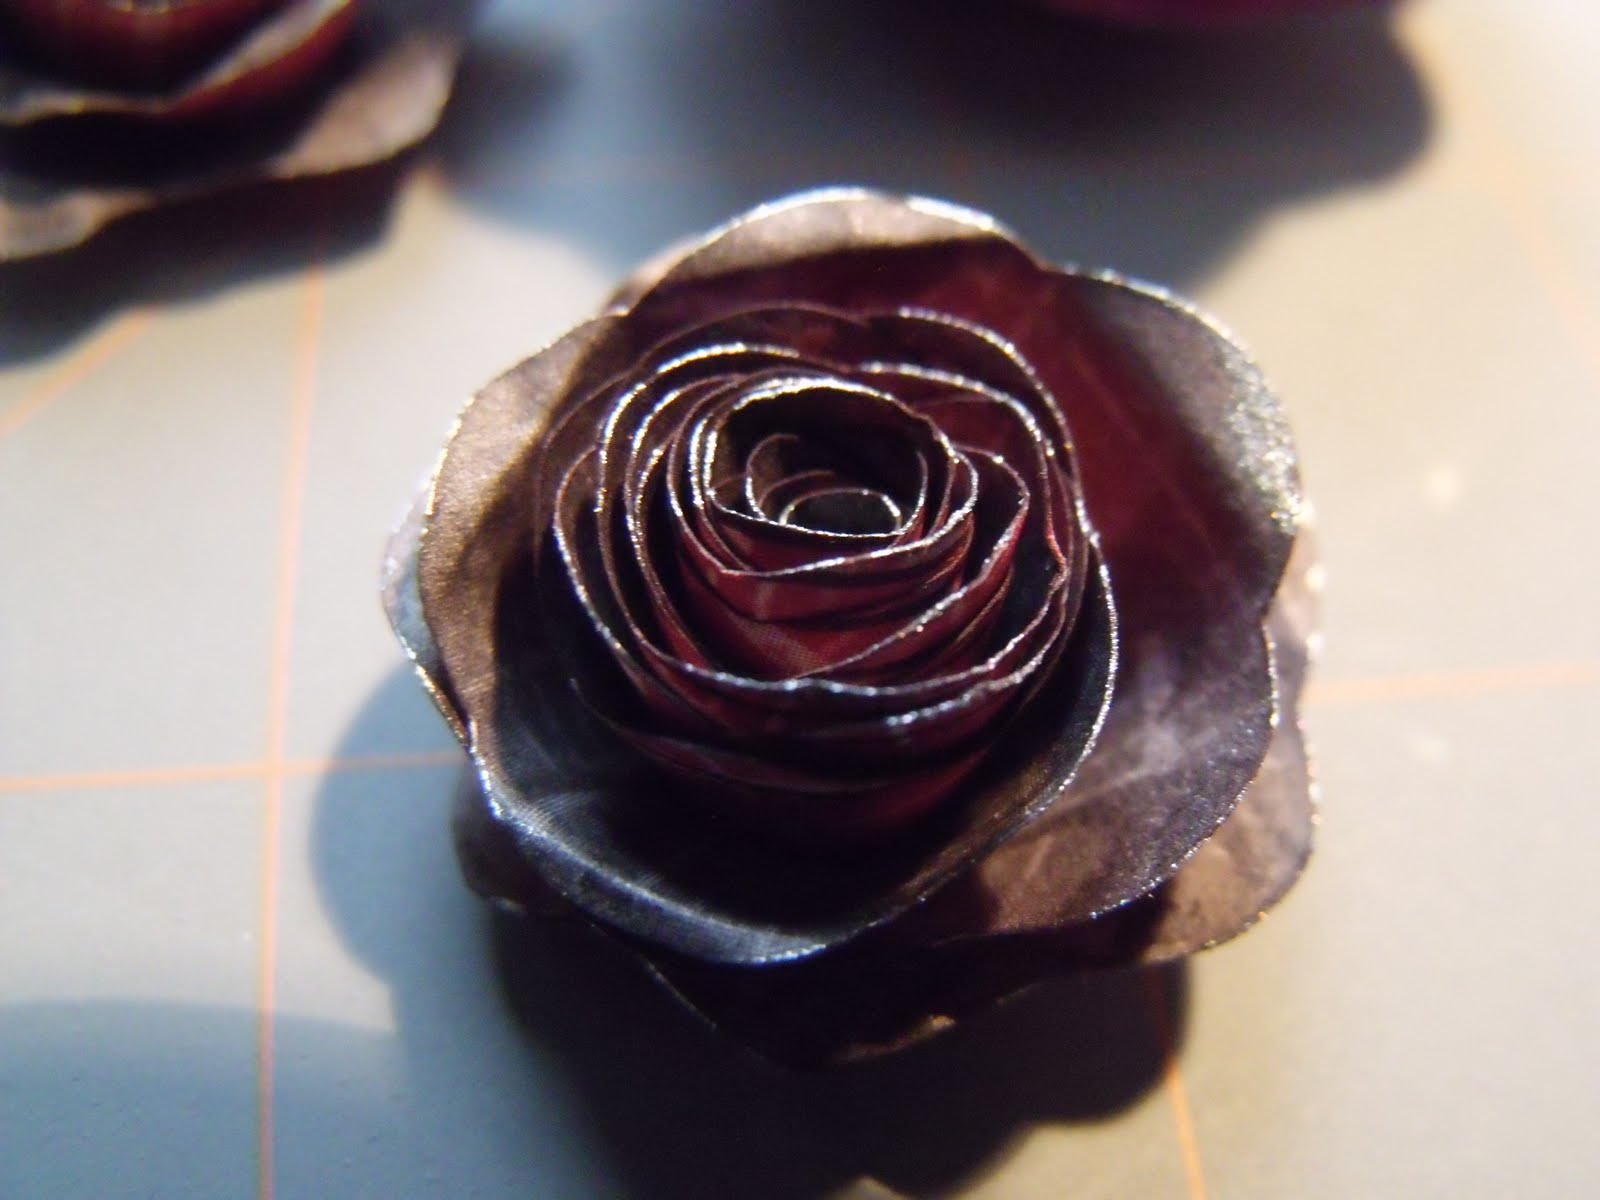
These have turned out better then I would have thought and they get together so well. I did one in cardstock with the one sides stamped with some flourishes. The other two are with sweatheart B&T Duos. I used some Olive Twist Smooch pearlized accent ink on the edges of my flowers and glued the whole thing together with liquid glass. Love it!! And very solid.

So here is how this scrapbook in a box ended.


I am very pleased at how these turn out and I hope my mom and sister like them as well. I will definetly make this into a workshop. So stay tuned.