Tuesday, October 25, 2011

H2H Halloween/Autumn Challenge... Take 2

Somewhere in the blog world there is a very talented girl name Andrea, who creates the most amazing paper craft with the use of her CTMH Art Philosophy Cricut Cartridge and I can’t help myself. I am scraplifting from her right, left and center.


Please visit her blog www.girlpluspaper.blogspot.com and prepare to be amazed.

I started giving instruction on how to make this pumpkin but honestly, Andre has already done such a great job at this that I would suggest you just visit her blog.

So even if this creation didn’t originally come from me, I decided to enter it in the H2H challenge because it’s just too cute a project to not share.


PS: be sure to use a battery operated tea light if you wish to illuminate it.

Happy Halloween Card for H2H Challenge

I started this card in the beginning of October for the H2H October 3rd Challenge (H2H76). This challenge was for a sketch. When I saw the sketch, it reminded me of an idea I came across in the cricut magazine that I’ve wanted to try. I’m using the sketch for the inside of my card.


But then life happened and ended up getting pretty busy at the farm. So I am just now completing my card. Just in time the H2H October 24th Challenge. Which is to create anything for Fall/Halloween. So I’ll enter my card for both challenges.


Here is the list of material used for this project.

Paper:

CTMH White Colonial Cardstock
CTMH Black Cardstock
Both Orange pattern papers are from an unknown source
Stamps:

CMTH Thriller (Skeleton Head)
CTMH Mischief Workshop Stamp Set (Greeting, Bottle, Border)
CTMH All Hallows Eve (Spider Web)
Ink:
CTMH Black
CTMH Archival Black
CTMH Colonial White
CTMH Sorbet
Other:
CTMH Black Hemp
CTMH Art Philosophy Cricut Cartridge
Jewel Glitter Glitz (Blush)
Making Memories Circle Cutter


Here are the steps for creating this card.


First using the cricut I cut out three scalloped cards. Two in black cardstock and one in my lighter orange pattern paper. At this point, if I had a gypsy I would have used it to cut out the circle from the middle of one of my black cards, since I don’t, I used the making memories circle cutter. I then glued the orange card to the inside of the whole black card. I scored the black card with the circle cut out in the middle and on both side at about 2” from the middle. Then I glued the end of the cut out card to the black/orange card.


I stamped the border on the edge of a strip of darker orange patterned paper and adhere to the inside of my card, trimming the edge to match the scalloped edge (ps I inked the edges with black ink). And I stamped the border in colonial white on both side of my card.
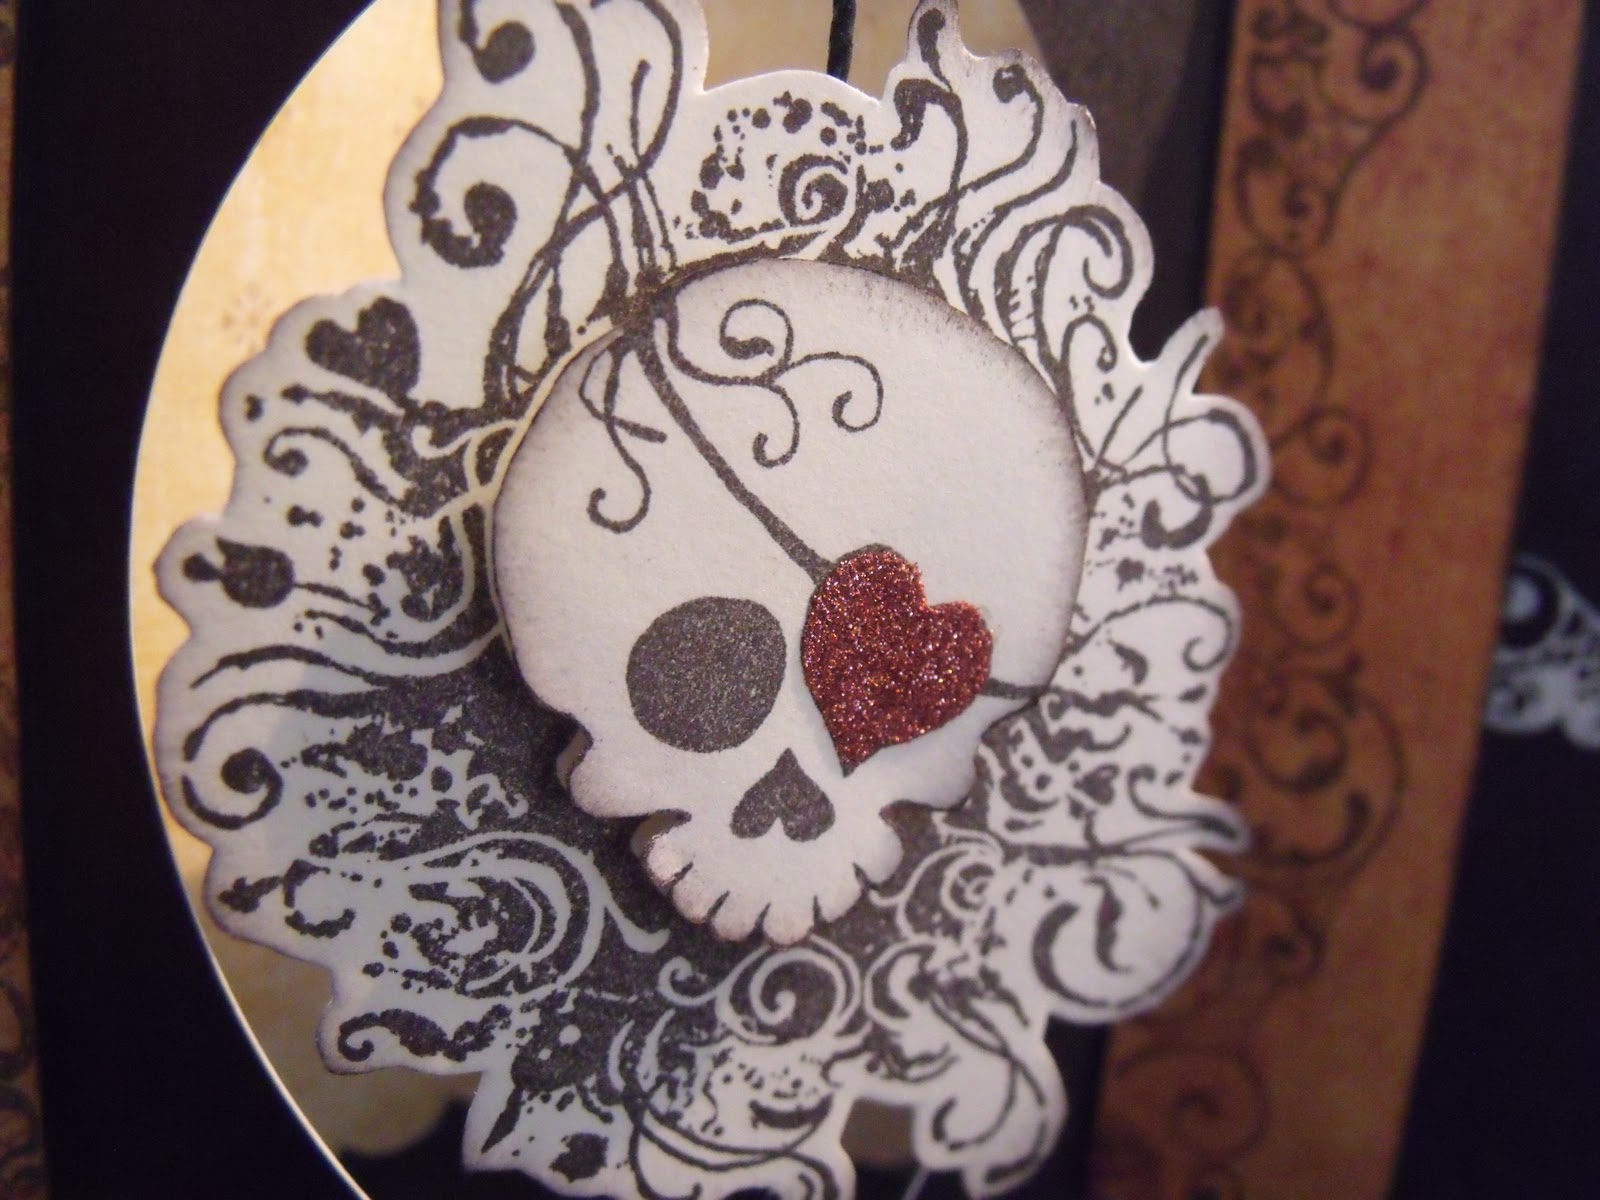
I stamped the skeleton head on colonial white cardstock twice. Cutting out the first around the flourish and the second around the head. I glued them together using 3D foam squares. I placed glue to cover the heart eye patch and sprinkled it with the glitter. Ohhh so pretty!!!


For the front of the card, I stamped my border and greeting in archival black. I inked the edges with black ink and stamped the spider web using second generation stamping technique.


I stamped the bottle with Archival Black on a piece of dark orange pattern paper and trimmed it out. Using a blending pen I coloured the flame with Sorbet ink and using a dried up blending pen I coloured the candle with the Colonial White ink. Adhered the bottle with 3D foam square and VOILA!!!!

Monday, October 17, 2011

Good Times

I've decided to participate to the Studio Purge Sketch Contest at PageMaps and to enter it to the Heart2Heart challenge as well.

Here is the sketch:


Here is my layout:


I've been working on my embellishing. I make sure to pull all the embellishments at the beginning when I'm planning the page. I struggled with that for this page a little bit, but in the end it worked out not too bad. I created all of my embellishments with either the cricut, or my stamp sets.


Product used:

CTMH Dreamin' Level 2 Paper kit
CTMH Kraft Cardstock
CTMH Ink (Chocolate, Pacifica)
CTMH Art Philosophy Cricut Cartridge
Imagine More Cricut Imagine Cartridge
CTMH Dreamin' Workshop Stamp Set
CTMH Little License Stamp Set
Ocean Soul Smooch
CTMH Blue Assortment Buttons
CTMH Color-Ready Cork Alphabet

I printed and cut the journal block with the Imagine More cartridge using the 3rd layer on page 19 of the guide booklet.


The hearts, flower, flourish, brackets and rolled flowers where done using the CTMH Art Philosophy cartridge.


So here we have it. It's not often that I create a page for myself, without pictures of the kids. This was taken at the Olds Sandbox. It's a big playground for the kids where the moms can visit on the comfy couches.

Sunday, October 16, 2011

Closet Snooze

I have been scrapbooking for about 5 years now. I see a lot of improvement from my earlier pages. My scrapbooking skills have definitely grown in the last few years. But there is still a lot of room for improvement. In fact the thing I struggle the most with in my scrapbook layout is embellishments. I can do the base of my layout with no problem but when it comes to embellishments, I struggle, it is always an after thought and in the end it looks like my embellishments were an after thoughts.

Well I was watching scrapbooking videos on You Tube when I came across Shimelle's video series that she calls "Sketch to Scrapbook Page". In each video she creates a layout based on a basic sketch and transform them into beautifully finished and embellished layout. I have learn so much from those videos and embellishing didn't seem like such a daunting task.

I decided to put it to the test. Here is my layout following Shimelle's lead.


This layout is from one of my favorite blogs called PageMaps. Every month they post a new series of sketches along with example of pages loosely following those sketches. For my layout I selected a double 12x12 sketch from Aug 2006. I print out the PDF files of the sketch and keep them in a binder.

To follow her Shimelle's style I pulled out the paper I was going to use and selected some embellishments. My friend gave me a set of paper that she had an extra set of. (Thanks Alida, I appreciate you fuelling my paper addiction) So I used the paper collection Alphabet Soup from My Minds Eye. This kit came with some cutout image that I also used and I paired it up with some images from the Art Cartridge Imagine More that I printed and cut out using my Cricut Imagine. So the alarm clock, the owl, and the red cloud shaped image.


This was big for me!! As I said, embellishments are an after thought for me, it was very different for me to pull images at the beginning of my layout planning.

Well here is how my layout turned out. I must say, I am pleased!!


This summer, we where planning a camping trip with the kids for the weekend. My youngest Patrick thought we would be camping that same day. He was disappointed when he found out he had to wait so he declared he would sleep in the closet instead... and he did.


Well this is my layout. I strongly suggest you visit both Shimelle's and PageMaps website. Well worth the surfing time.

Saturday, October 08, 2011

Spooky Banner

Hi All,

Wow, it's been a while. I've been busy with my sister in law's 35th birthday, my mother's surprise 50th birthday and my son's 6th birthday. All of this in the strecht of one week. Pheww..

Anyways... I played with my Cricut today. And scraplifted a project I came across on the Cricut website. Andrea's blog is worth the visit, she is a creative individual and her projects are beautifull. I couldn't resist, I had to make one... or two.


I also decided to try and do it on a video.

So here it is. I hope this works out.


I also decided to enter this into the Heart 2 Heart sentiment challenge ... Spooky is a sentiment right? I haven't participated to the challenge in much too long. I'm working on freeing some of my time so that I can participate more often from now on.

Thursday, September 01, 2011

It's Back To School

My son, Jérome, is starting grade 1 tomorrow. And the one thing that I kept thinking was: "And I don't even have his first day of Kindergarten scrapbooked". I know most mothers would be concerned about their little boy growing up. But what can I say... I'm a scrapper to the core.

So today, I scrapbooked his first day of kindergarten just so I can say that is was done before he started first grade. I'm really not that organized of a scrapper cause I manage to ignore the fact that his third birthday party is still unscrapped.

So here are the pictures of that layout.

I used CTMH's Typeset paper kit, and the CTMH Cricut Cartridge.

On my first day of school my mother followed me through every step, waking up, eating, brushing my teeth. I decided to pester my own kid the same way.
Even the cat followed him to the bus stop.


Emergency bathroom break before the bus got there. Boys!! what can I say.


Monday, August 15, 2011

House Warming Gift

One of my second level downline moved into a new house. My sister and I where visiting and put together a little gift for her.

I made a house shape gift box and we filled it with scrapbooking supplies.


Ink used:

Brown Bag, Desert Sand, Bamboo, Vineyeard Berry, Smoothie, Pear, Sky

Cardstock:

Colonial White

Stamps:

Around the Block (D1377), Flower Pot (D1409), Door (um3386 by AI Impressions)


 I randomly stamped bricks around the box.


I made a scalloped edge template and inked the roof with it.


The final box with the ribbon


And a matching card.